
 English

Commissioning Is Where Specification Becomes Reliability
A chemical pump can be correctly selected, correctly installed, and still be damaged in its first hour of service. Startup is the moment when every assumption in the design meets the actual system: the real fluid, the real pipe friction, the real motor, and the real operator. A disciplined commissioning procedure verifies each of those interfaces in sequence, catches installation defects while they are still cheap to fix, and creates the baseline data that every future maintenance decision depends on. This checklist follows the order an experienced commissioning engineer actually works: pre-start verification, first energization, performance confirmation, and handover records.
Pre-Start Verification
Mechanical Completion Checks
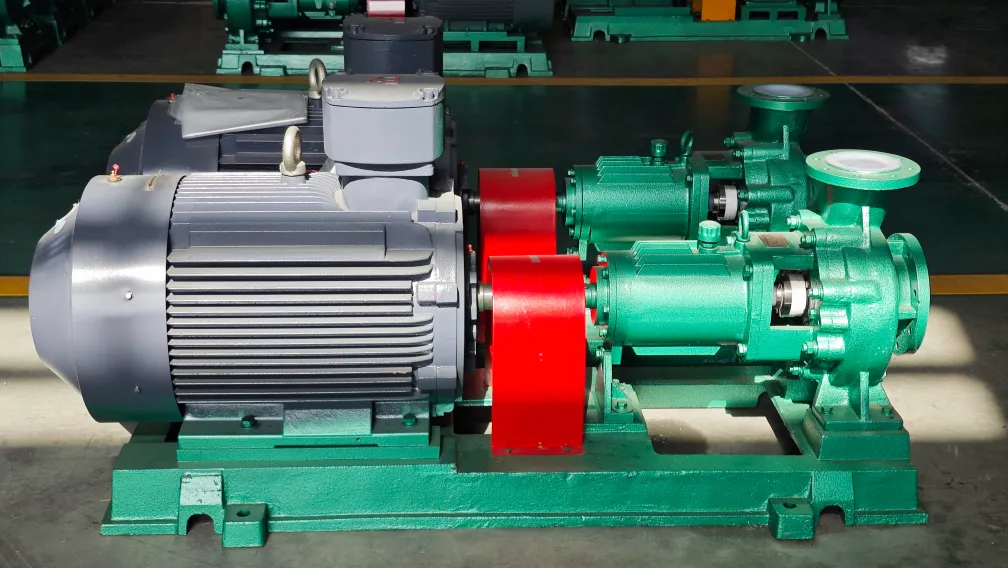
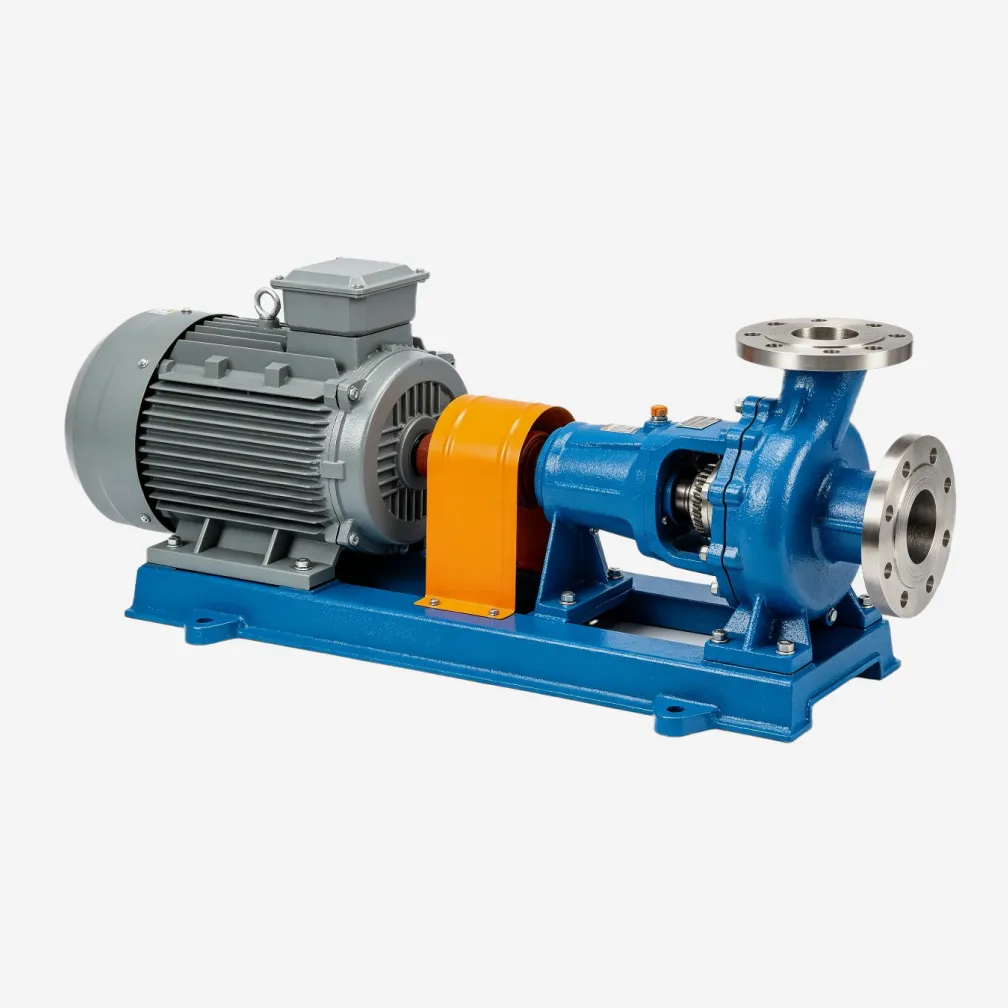
Before any liquid enters the pump, confirm the mechanical scope is closed out. The foundation grout has cured and anchor bolts are torqued with witness marks. Piping stands on its own supports and the flange loosening check has been passed. Shaft alignment has been verified after piping connection and documented. The coupling guard is fitted, fasteners are torqued, and the pump shaft turns freely by hand through the coupling with the motor de-energized; any rubbing or tight spot is investigated now, not at speed. Flush and barrier fluid systems are filled, pressurized, and flowing. Instruments that the operator will need during startup, discharge pressure gauge, flow indication, motor amperage, are installed and readable from the operating position.
Rotation Direction
Confirm motor rotation with the coupling element removed, bumping the motor for a fraction of a second against the arrow on the casing. Reverse rotation on a centrifugal pump delivers a fraction of rated flow at best, and on designs with threaded impeller retention it can unscrew the impeller nut within seconds. Do this check once, record it, and never rely on the electrician's phase assumption.
Priming and Venting
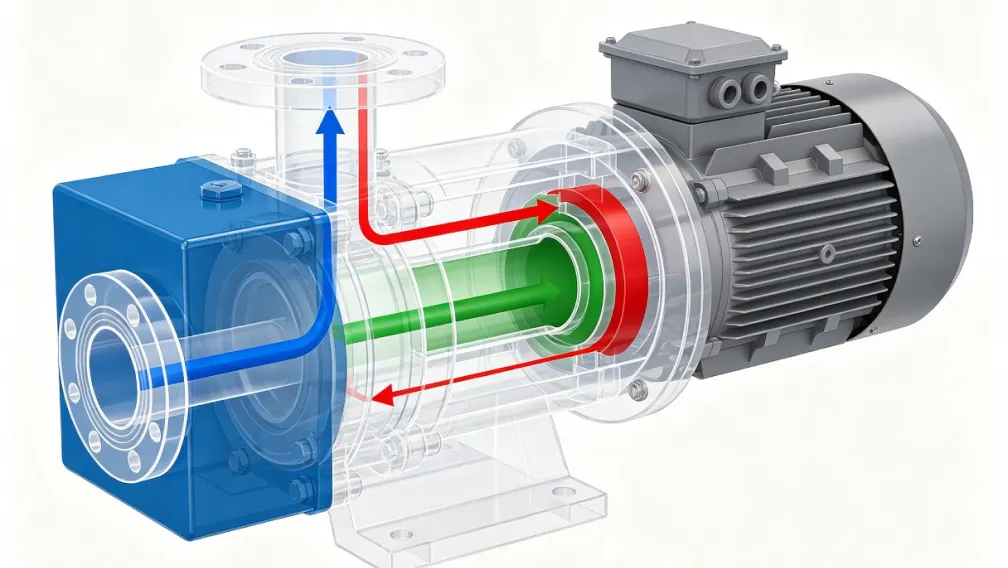
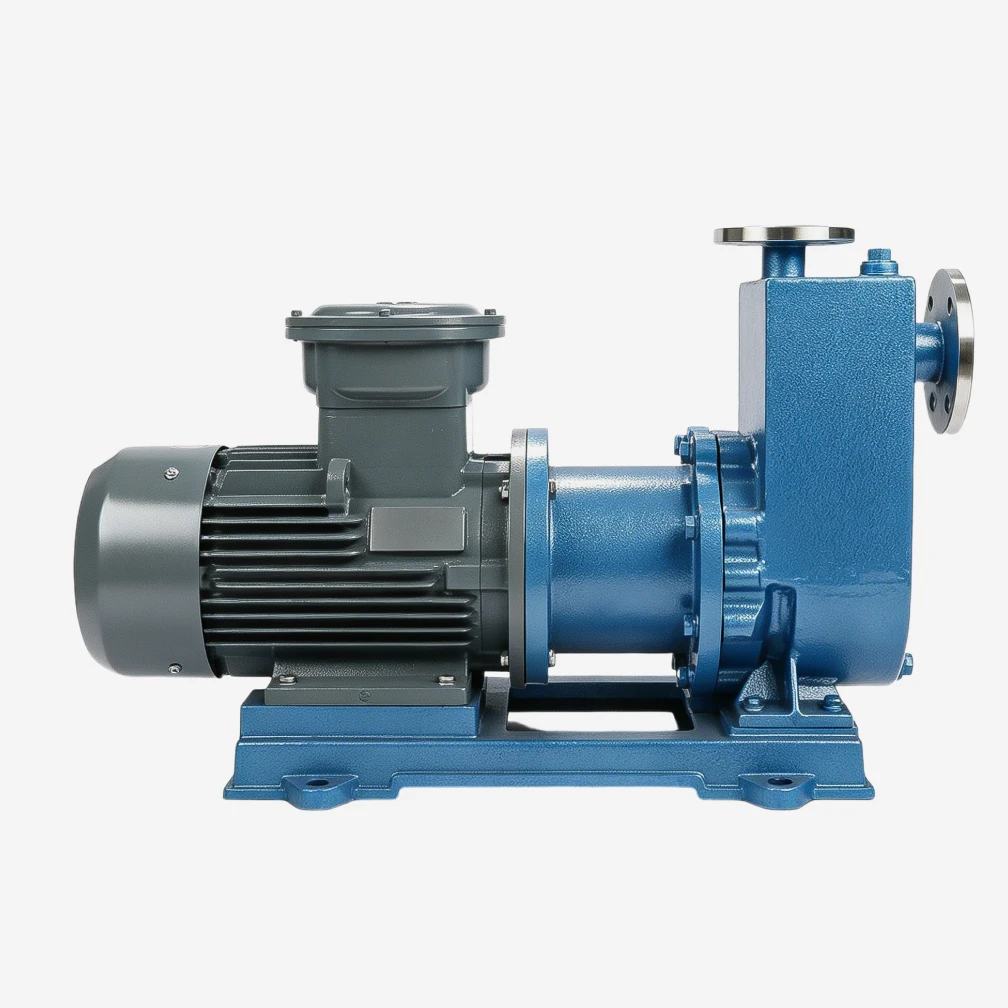
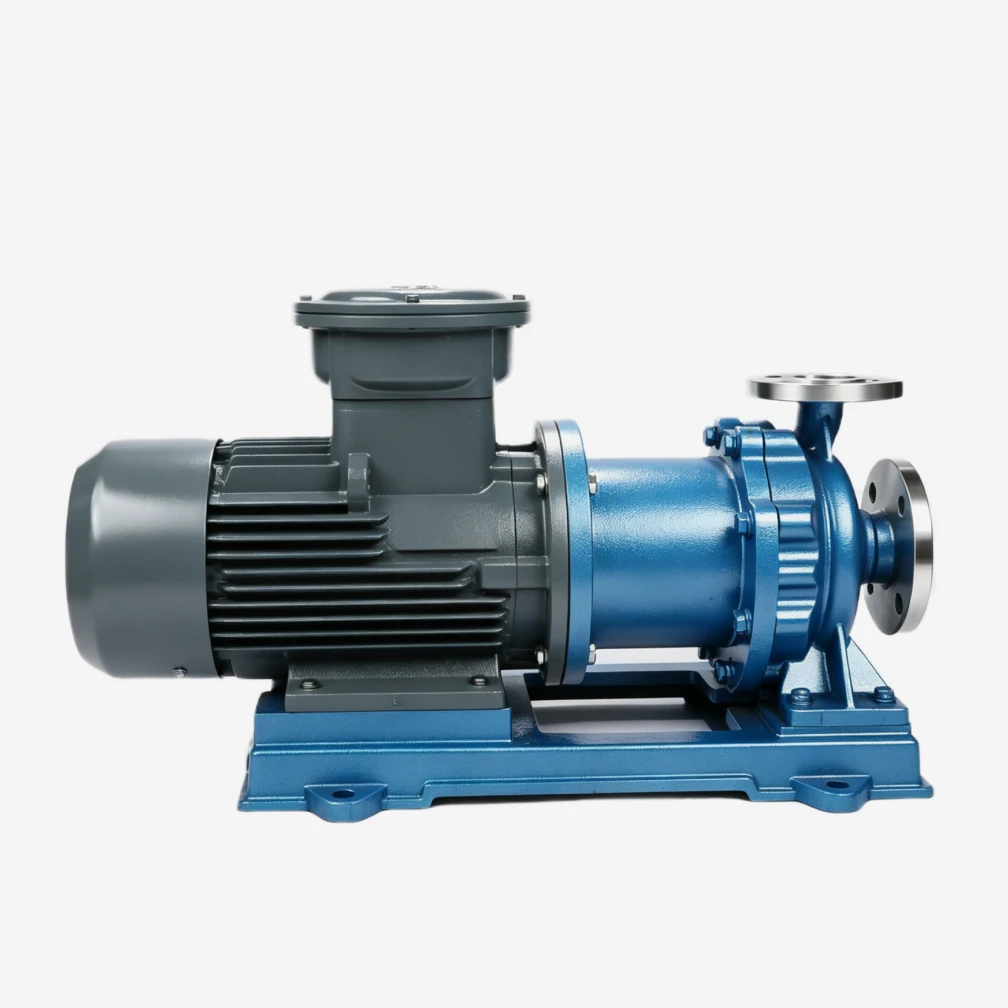
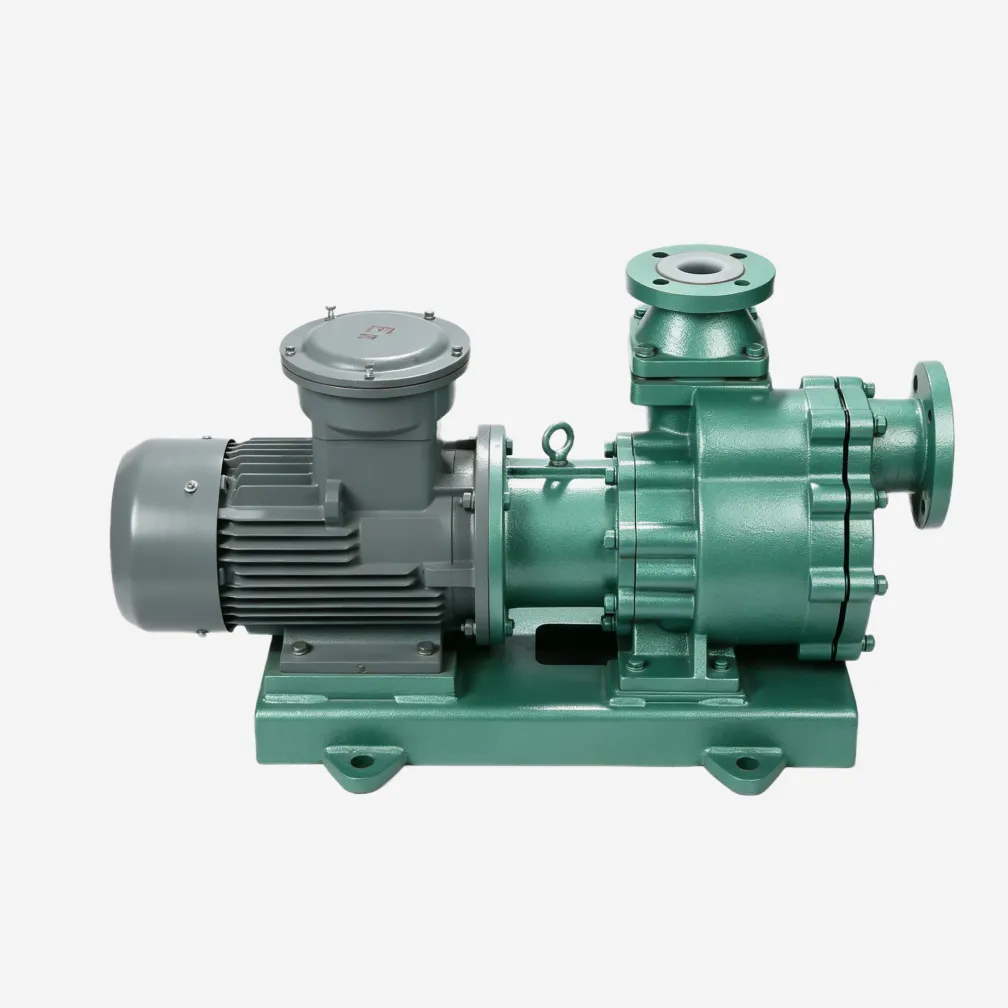
A standard centrifugal chemical pump must be completely full of liquid before the shaft turns. Open the suction valve fully, fill the casing and suction line with the process liquid or a compatible flush fluid, and vent the casing at the high point until liquid appears without bubbles. Trapped air collects at the top of the casing, exactly where the seal sits, and a seal started in an air pocket overheats in minutes. Self-priming designs are filled once at first use and re-prime automatically afterward, provided the casing reservoir still holds its charge; verify the reservoir before relying on that feature after a long shutdown. For magnetic drive pumps the rule is absolute: the pump must be vented and confirmed full of liquid, because the internal sleeve bearings and the containment shell depend on the pumped liquid for lubrication and cooling, and a few seconds of dry running can scorch both.
Valve Sequence and First Energization
The starting valve sequence protects the motor, the pump, and the system:
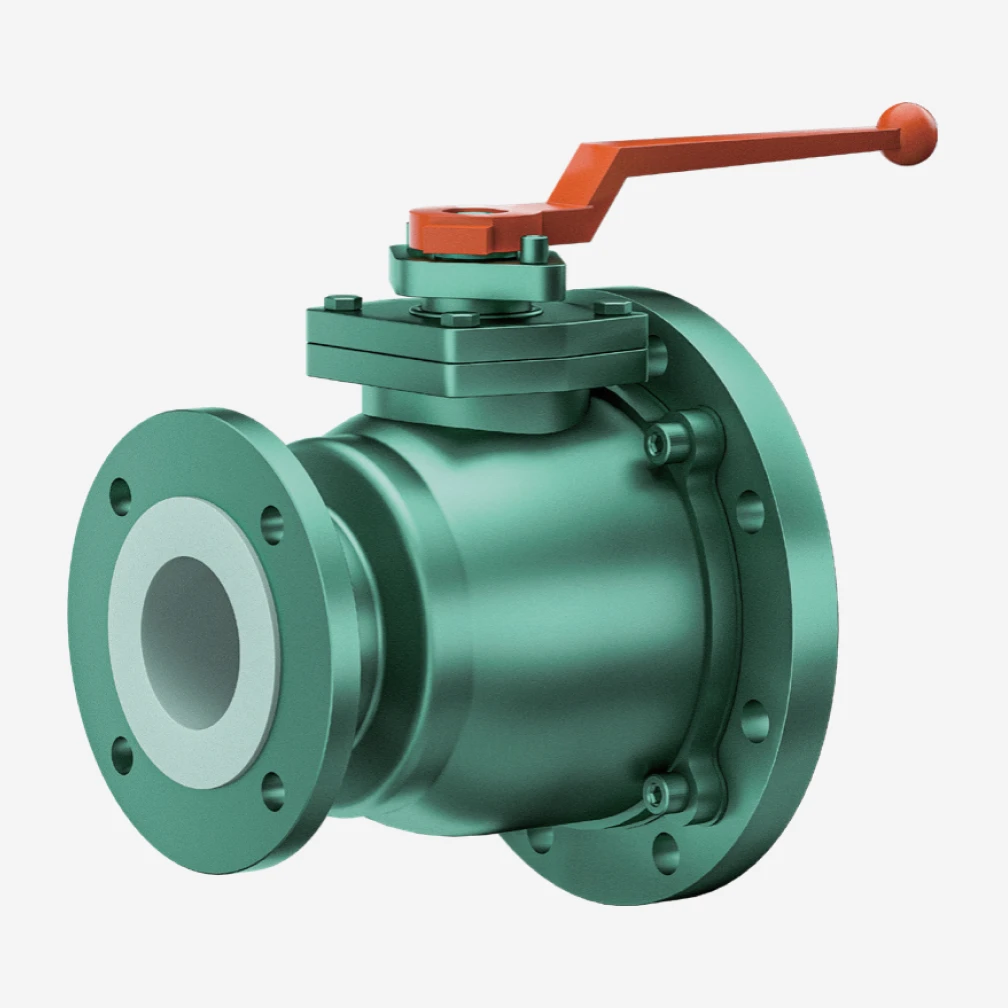
- Open the suction valve fully. Never start against a throttled suction; the resulting pressure drop invites cavitation.
- Set the discharge valve closed or cracked open, depending on the pump's head-capacity curve and motor starting capacity. Starting against a closed or nearly closed discharge minimizes motor starting load; the exception is systems with a minimum-flow requirement, where the minimum-flow bypass must be open before the start button is pressed.
- Start the motor and open the discharge valve gradually toward the duty point, watching amperage. The motor should settle below nameplate current; sustained overload means the pump is running out on its curve or the fluid density exceeds the design assumption.
Never operate a centrifugal pump for more than a brief interval against a fully closed discharge. With no flow, the input power converts to heat inside the casing, the liquid temperature climbs, and on a corrosive or volatile chemical the consequences range from seal damage to vapor locking and flashing. Magnetic drive pumps are even less tolerant: without flow there is no cooling for the bearings or the containment shell.
The First Minutes: What to Verify
Within the first minutes of operation, check and record five quantities. This record is the commissioning baseline:
- Leakage: none at flanges and static joints; at a mechanical seal, a brief initial weep that dries up is acceptable on some designs, but steady visible leakage is not.
- Vibration: smooth running by hand feel at the bearing housing; log an instrumented reading at a marked point for trending.
- Discharge pressure: matches the expected value for the set valve position.
- Motor amperage: stable and below nameplate, with no slow upward drift.
- Temperature: bearing housing and motor frame warming gently and leveling off; any continuous climb is a stop-and-investigate condition.
Listen as well as measure. A rattling, gravel-like sound indicates cavitation: close the discharge valve to reduce flow, and if the noise persists, investigate suction conditions before continuing. A high-pitched whine that rises with speed points at bearings or, on a magnetic drive pump, at dry or under-lubricated internal bearings, which is an immediate shutdown case.
Seal and Flush System Verification
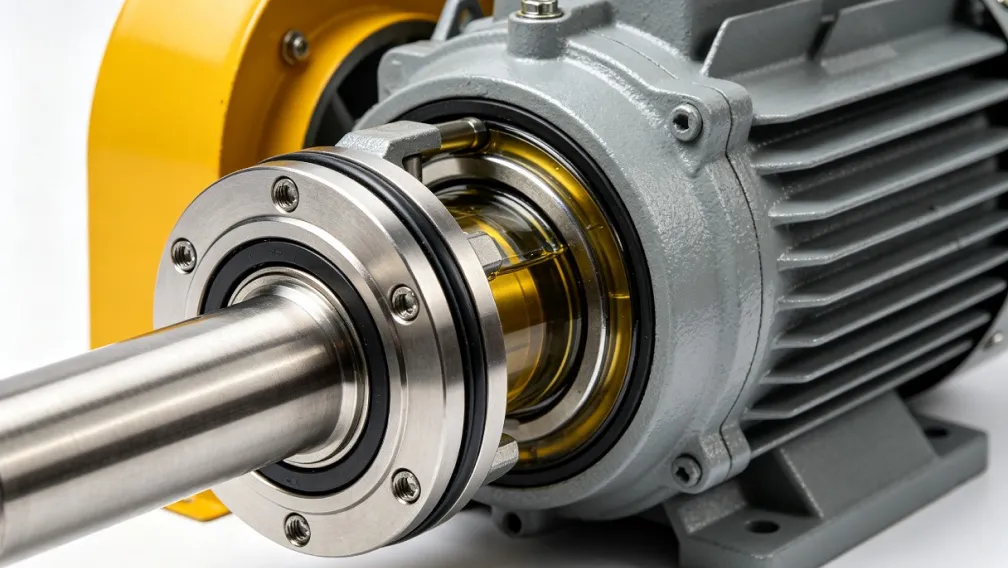
For pumps with flushed or double mechanical seals, the auxiliary system is verified before process liquid is introduced, not after. Confirm flush or barrier fluid is actually flowing, not merely connected: a blocked flush line lets the seal faces run dry while every gauge looks plausible. On double seals, barrier fluid pressure must sit above the seal chamber pressure so any leakage is barrier fluid into the process, not process fluid to atmosphere. Record the barrier pressure and level at startup; these become the reference values for weekly checks.
Performance Confirmation at the Duty Point
With the pump stable, set the discharge valve to the design flow and confirm the duty point against the test curve. Compare measured head, flow, and amperage with the factory test data. Deviations have physical meanings worth recording: lower head at the same flow usually means impeller wear, wrong rotation history, or a lower fluid density than specified; higher amperage at the same head means higher density or viscosity. A pump commissioned significantly off its best efficiency point will run with elevated vibration and radial load for its entire life, so if the system curve does not match the pump, resolve it now with an impeller trim or speed change rather than with a permanently throttled valve.
Commissioning Record and Handover
Commissioning is finished only when it is documented. The record should capture, at minimum:
| Record item | Why it matters later |
|---|---|
| Rotation check confirmation | Excludes reverse-rotation history from future impeller investigations |
| Final alignment readings | Reference for every later vibration diagnosis |
| Initial vibration, pressure, amperage, temperature | The baseline against which all trend alarms are judged |
| Seal flush/barrier pressure and level | Reference values for weekly seal system checks |
| Duty point vs test curve deviation | Evidence for impeller trim or system correction decisions |
| Priming method and reservoir status | Basis for self-priming reliability checks after shutdowns |
Hand these records to the maintenance team with the pump manual. A first-year failure investigated without baseline data is guesswork; the same investigation with commissioning records is usually a ten-minute diagnosis.
Chemical-Service Specifics at First Startup
Corrosive and hazardous duties add three commissioning items that clean-water practice omits. First, flush new pipelines before connecting them to the pump. Construction debris, weld scale, and flange grinding dust collect in new lined piping, and the first start sweeps all of it through the impeller and seal faces. Flush to a temporary strainer, inspect it, and only then bolt up to the pump. Second, verify the safety layer is live before introducing hazardous fluid: containment tray drained and clear, neutralization supply available, eyewash and safety shower tested, and gas detection calibrated where volatile chemicals are involved. Third, check the heat management provisions that the season demands. In cold climates, confirm heat tracing on flush and barrier lines before the first frost, because a frozen barrier line disables the seal protection exactly when it is needed. In high ambient temperatures, confirm barrier-fluid cooling and motor ventilation before peak summer duty.
Conclusion
Commissioning a chemical pump is a sequence of verifications: mechanical completion, rotation, priming and venting, valve sequence, first-minute checks, duty-point confirmation, and documented handover. Each step exists because a specific, well-known failure mode hides behind it, from air-bound casings and dry-run sleeve bearings to unscrewed impeller nuts and chronically overloaded motors. YFTEL provides commissioning guidance and baseline record templates with every pump, and our engineers support first startup remotely or on site. Send us your system curve, fluid data, and piping layout before commissioning, and we will confirm the valve sequence and expected duty-point readings in advance.
-

YFTEL Pumps
Fluid Engineers & Technical Support, YFTEL Pump
YFTEL is a chemical pump manufacturer based in Hangzhou, China, with a 26,000 m² production base in Hangzhou, China, with a 26,000 m² production base in Anhui. Using the CAS-patented Fluoroplastic Alloy material, we produce 300+ models of corrosion-resistant pumps, valves and piping, exported to 30+ countries.